Another sewing blogger, Gillian from Crafting a Rainbow, hosts a “Top 5 of the year” blog series at the end of every year. The idea is to post a roundup of your top 5 hits and misses from the year, as well as other highlights from the year. I thought it would be fun (and maybe educational) to join in and take a look back at my sewing successes and failures this year.

The first thing I noticed as I scrolled back through my 2014 blog posts is that I didn’t make that many things this year (11 garments blogged, plus 2 that weren’t), and for a while I felt bad about that (especially while reading all the “year in review” posts from other people with truly incredible numbers of finished garments for the year…). But after thinking about it for a while, I’ve decided I’m actually happy with that number of makes. I don’t need or want to make dozens and dozens of new garments every year–I don’t have room for that in my closet anyway! A few well thought out, well executed projects is actually ideal for me, and I think I achieved that. Nearly everything I sewed this year gets worn frequently and makes me happy, and for me, that’s success.
So, let’s get to the hits and misses, shall we? (Clicking on the pictures should take you back to the original post about each project.)
Top 5 Hits:
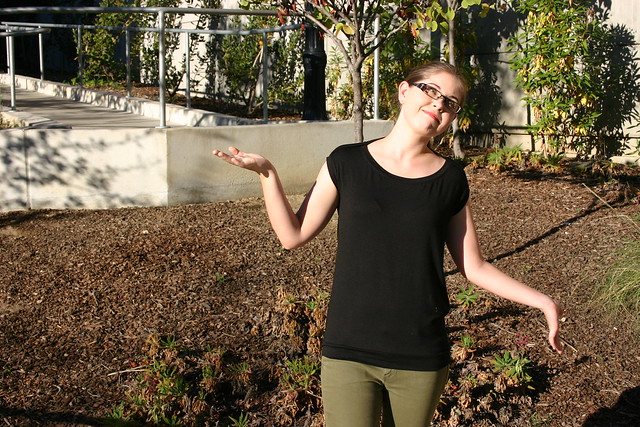
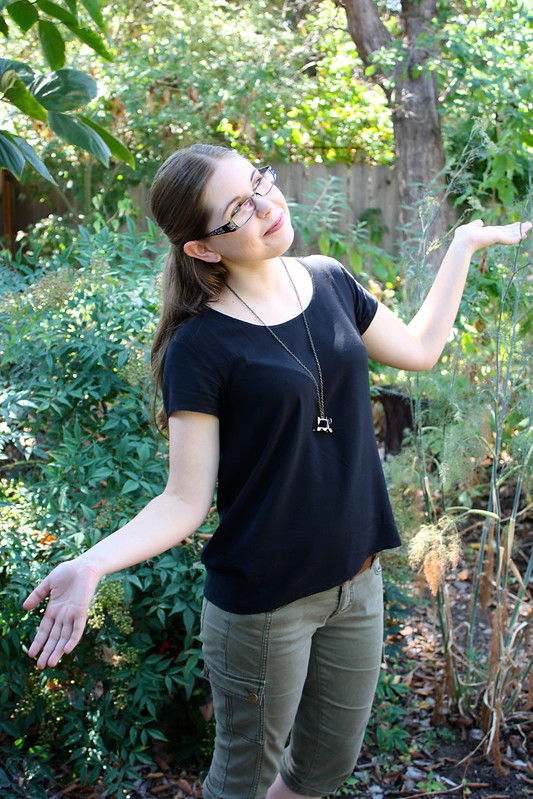
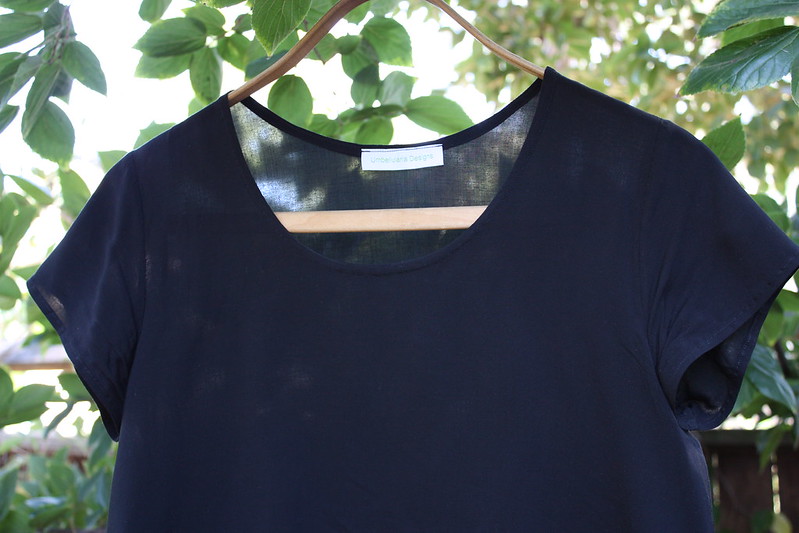
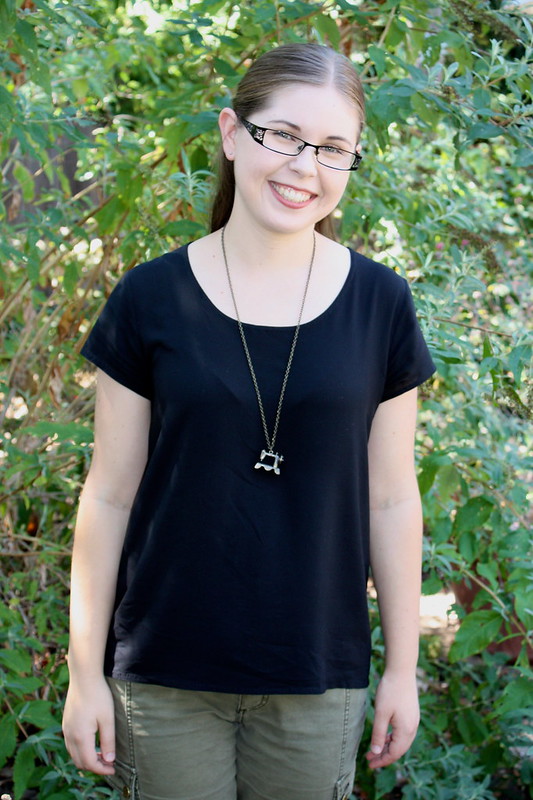
1. Black Scout Tee
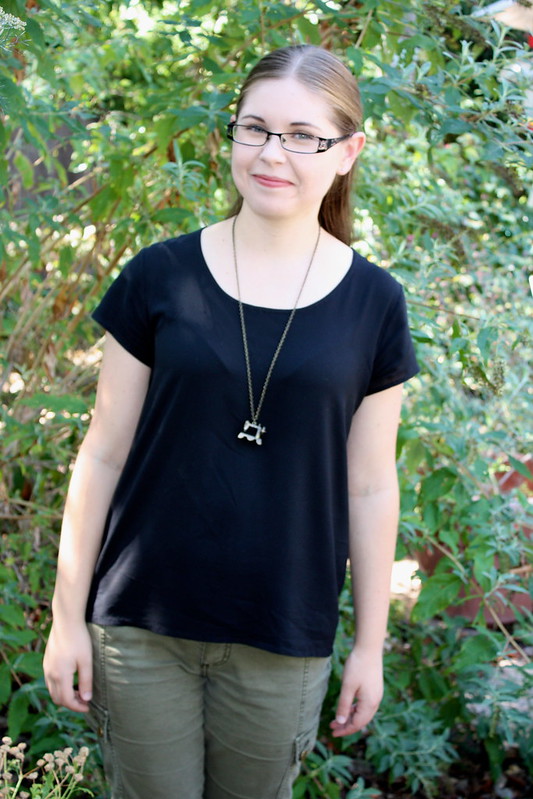
This was the 3rd Scout Tee I’ve made, and I perfect it a little more with each iteration, so this one is pretty darn good! The silhouette works well for me, black goes with everything, and it’s easy to dress this top up or down. I’ve worn it a ton, and I love it.
2. Archers #1 and #2

I’m cheating a little and counting these as one. I freaking love my archers! I wear them all the time! They are the perfect balance of casual-yet-put-together, and they work well both for work and leisure. I’d still like to make more of these.
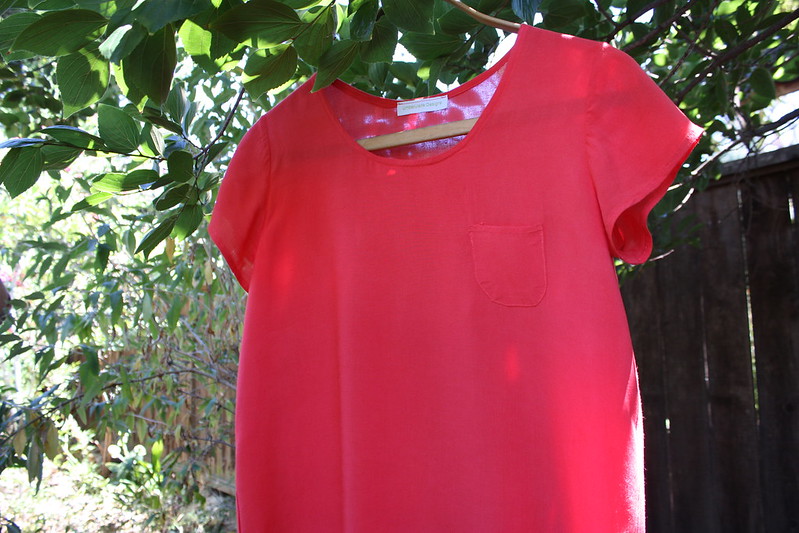
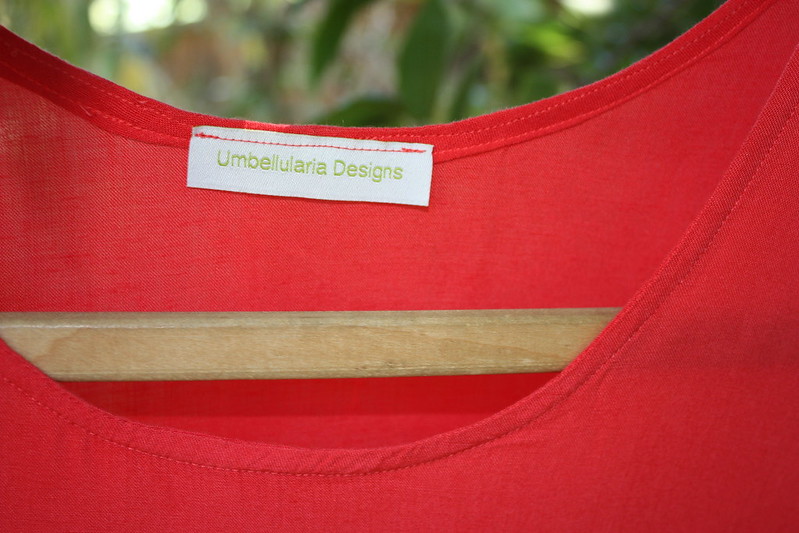
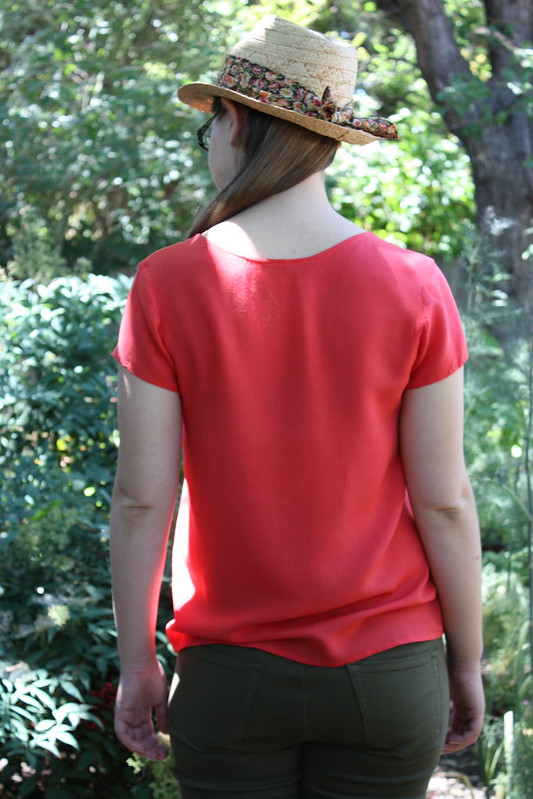
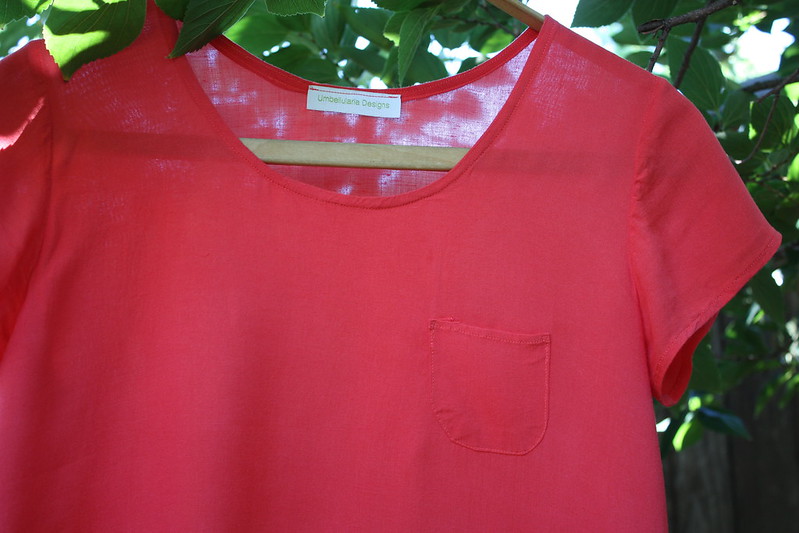
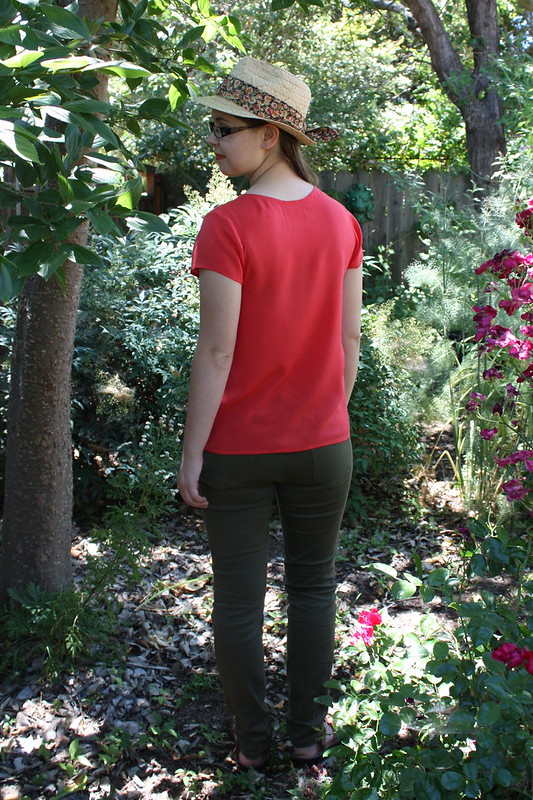
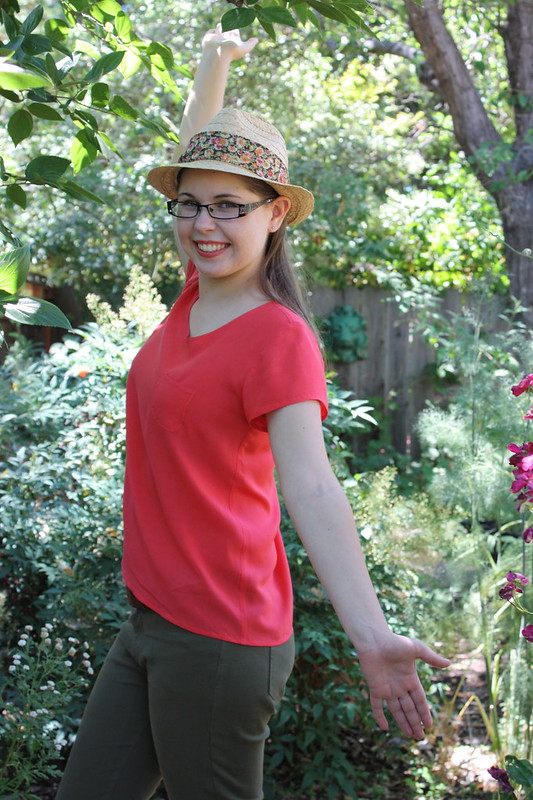
3. Portrait Blouse

This was kind of an unexpected hit — I sewed it up more or less on a whim, unsure it the shape would work for me. But it does work, brilliantly, especially for tucking into slacks for a slightly dressy look. The print and colors are perfect for me, too. I wore it to a job interview few weeks ago, and I felt great in it. (The interview, incidentally, went really well — must have been the blouse, don’t you think?)
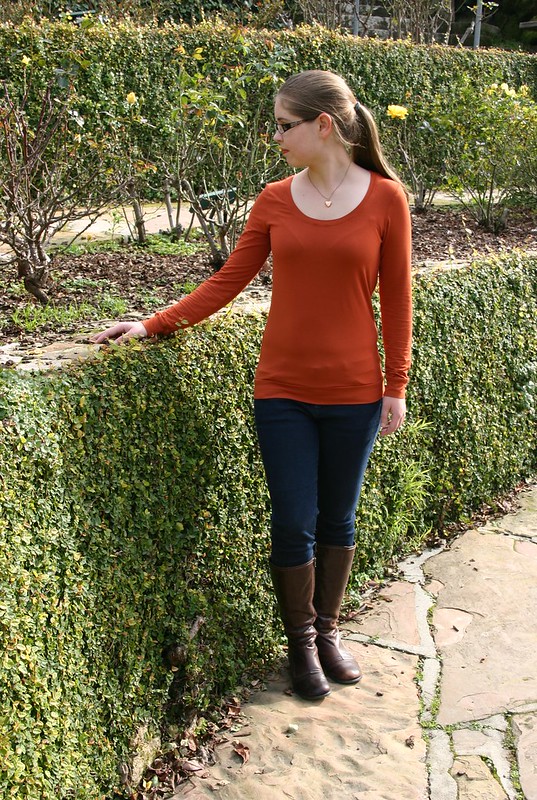
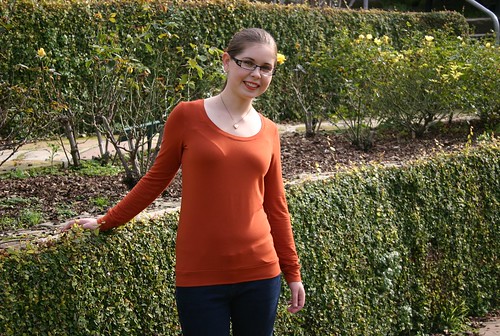
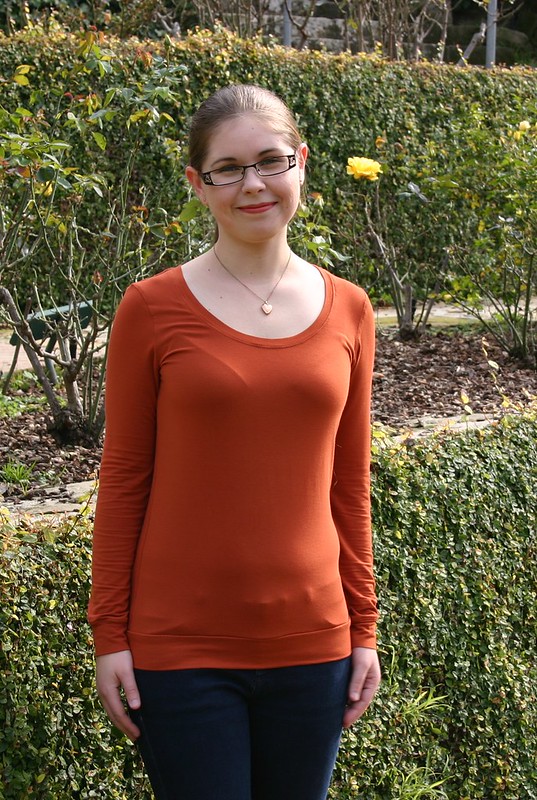
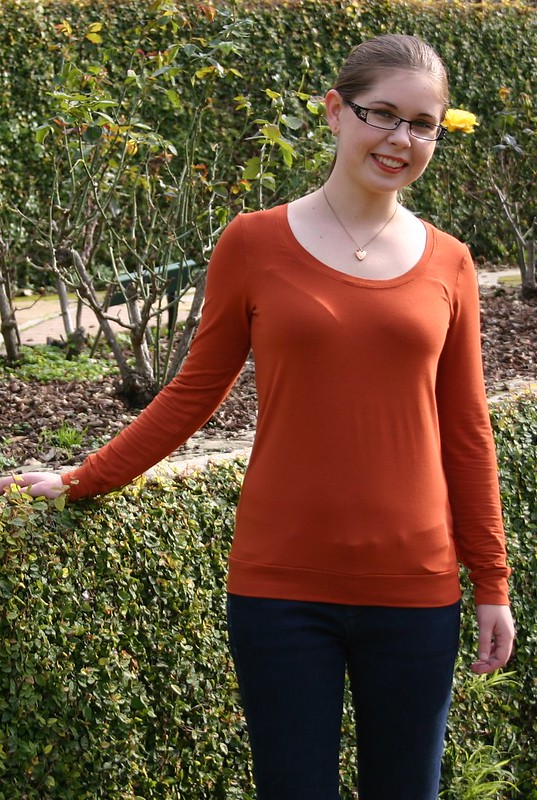
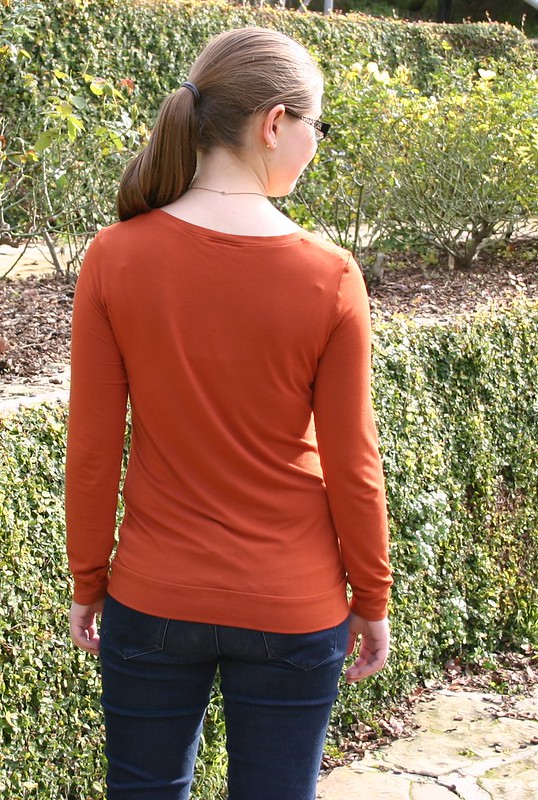
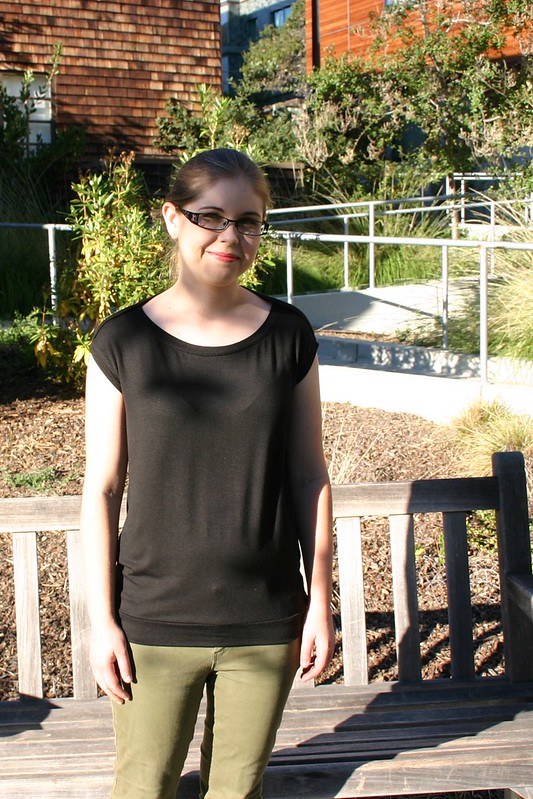
4. Pumpkin Renfrew

Not much to say about this one, except that I LOVE the color. It just makes me happy to put this on in the morning. I’m wearing it right now, actually! Plus it’s super soft and cozy, and the fit is pretty good (although I think on my next Renfrew I’ll shorten the body by 1″ or so).
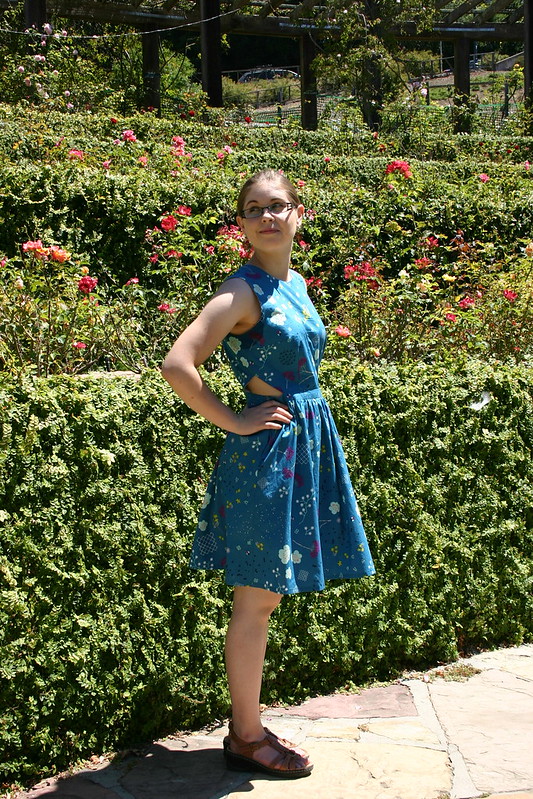
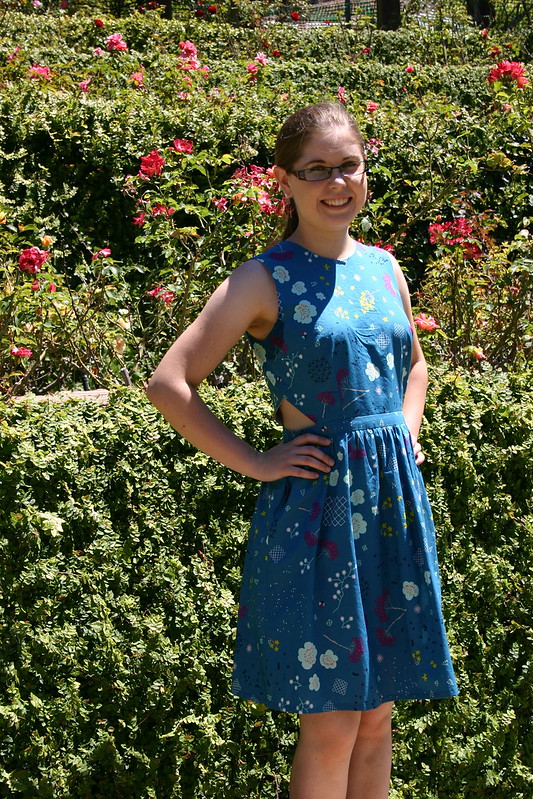
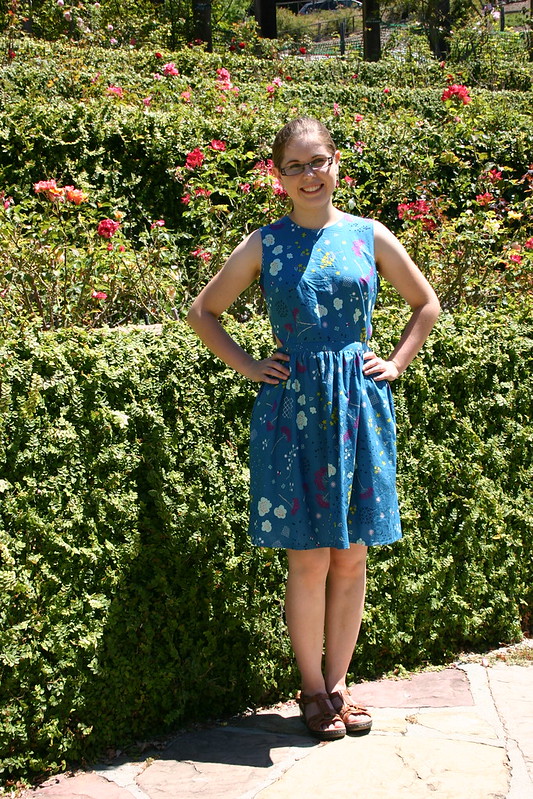
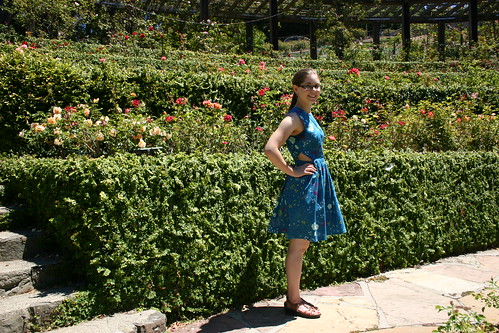
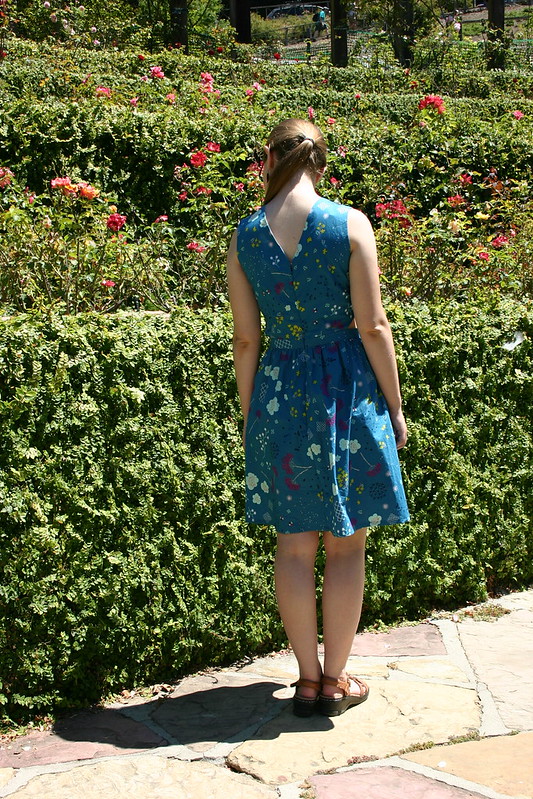
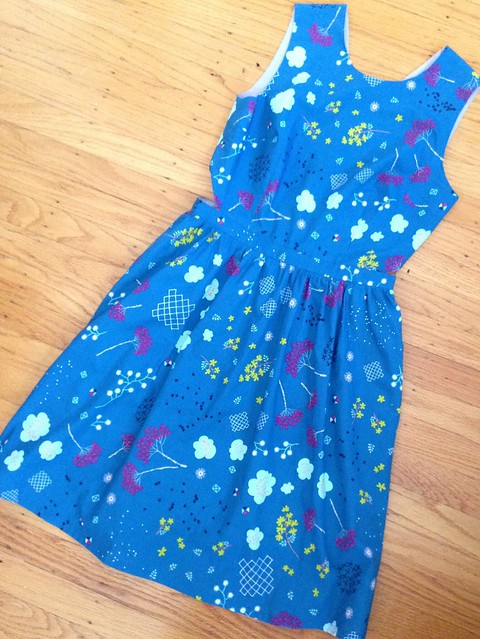
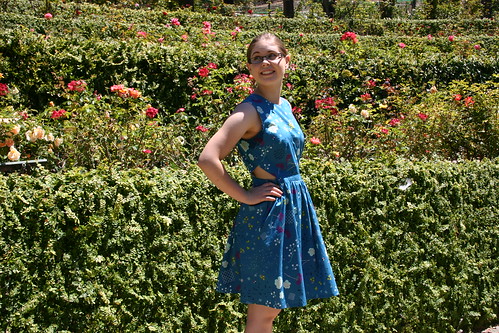
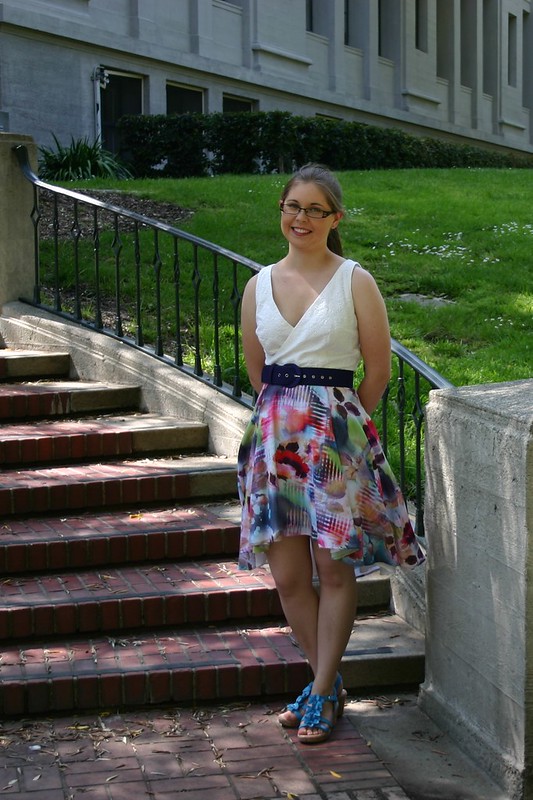
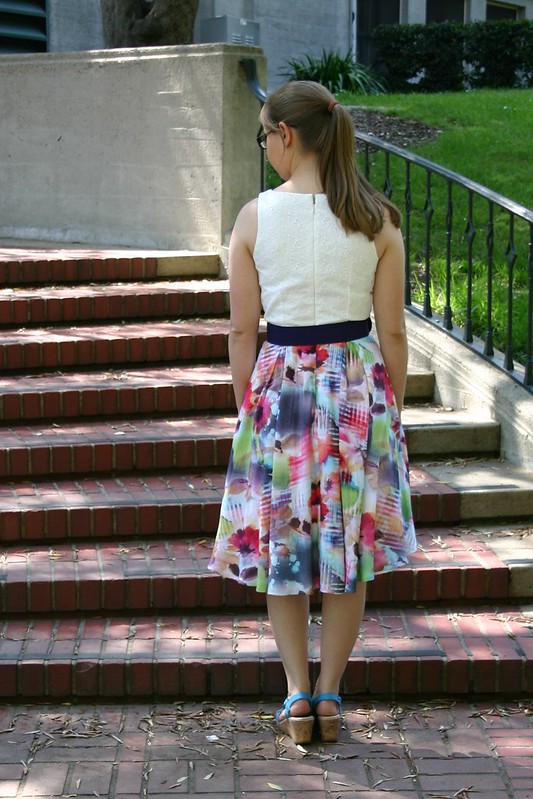
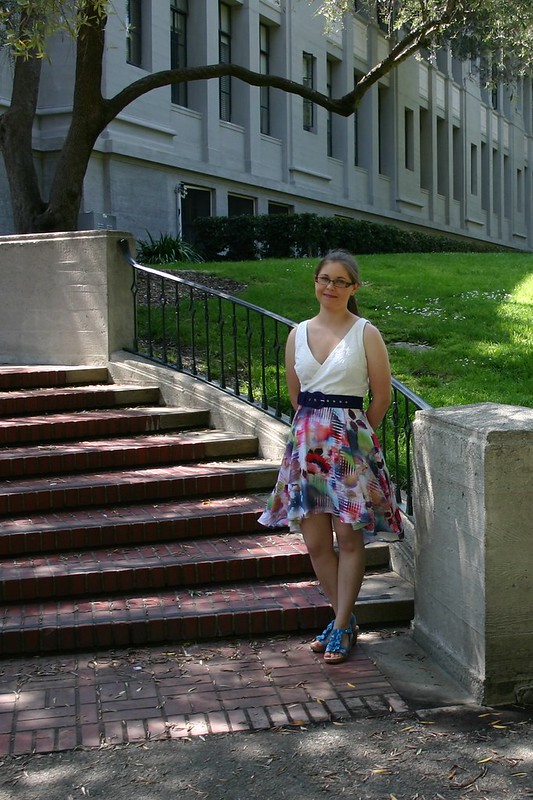
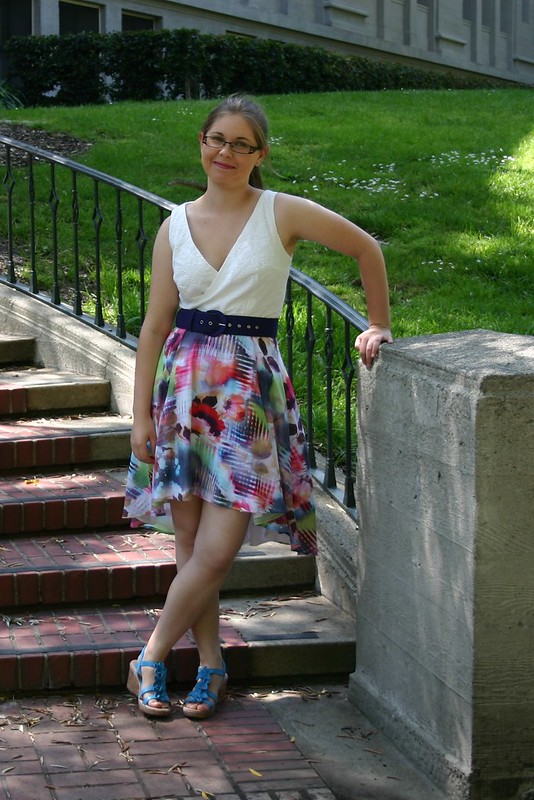
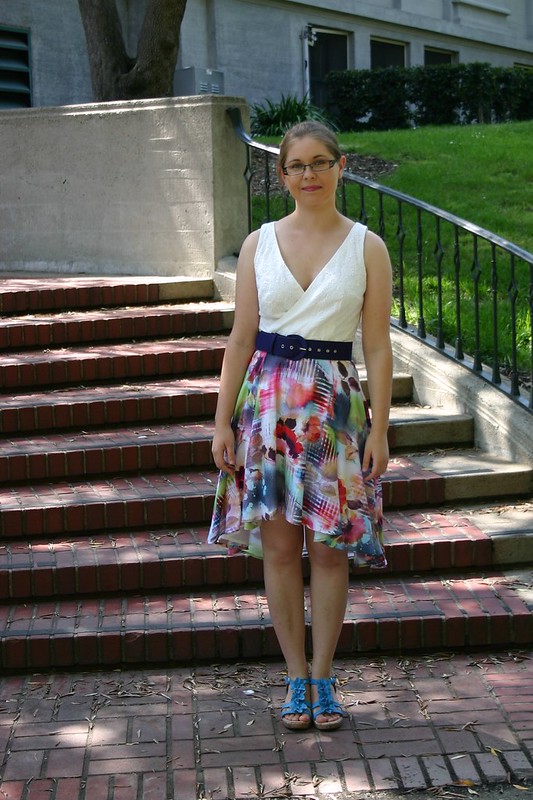
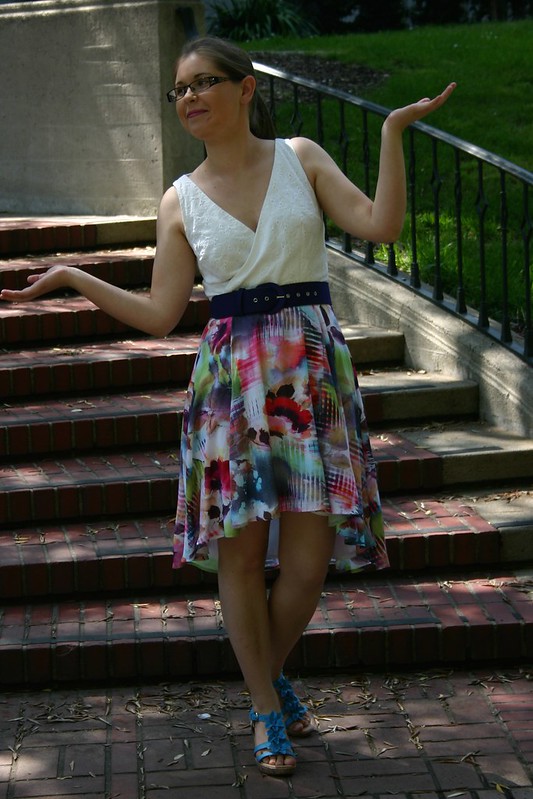
5. Floral Flora Dress
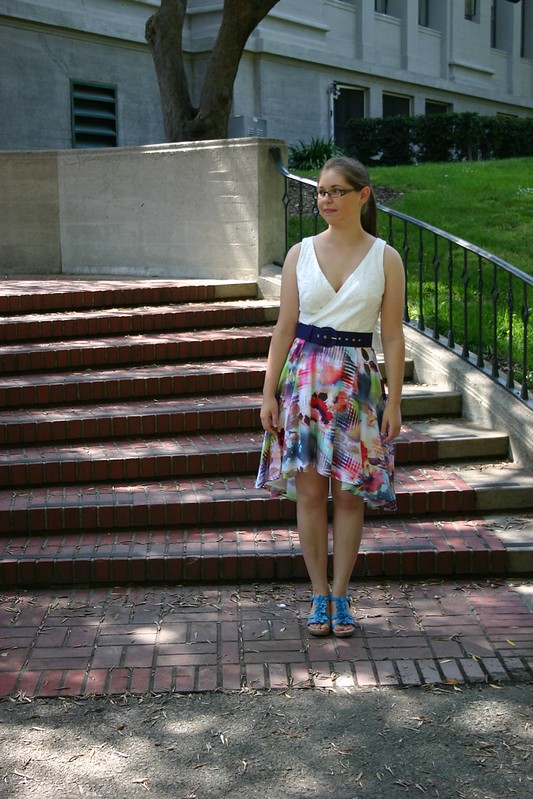
I’ve only worn this once (to a wedding), but it’s still qualifies as a hit because I felt great in it on that one day. Besides, when I made this I didn’t expect to get to wear it super often. I knew if would be a special occasion dress; that was the point.
Top 2 Misses:
I wouldn’t say that anything I made in 2014 was a complete miss, which makes me feel pretty good! Here are the two makes that I’m least satisfied with, though:
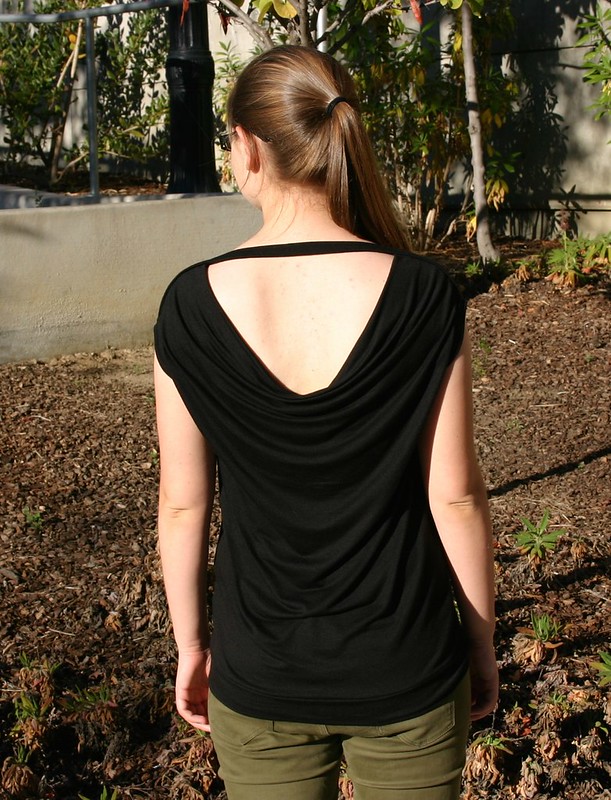
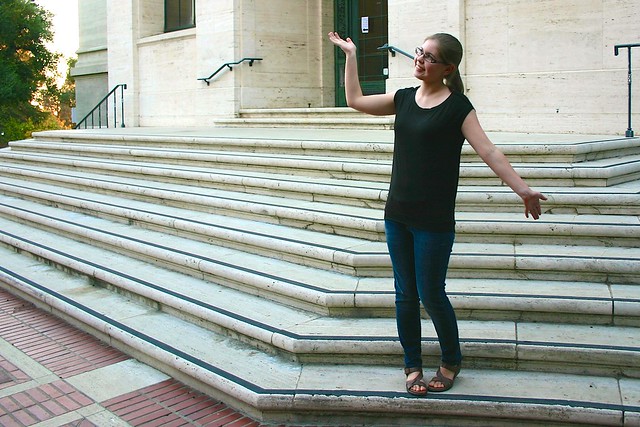
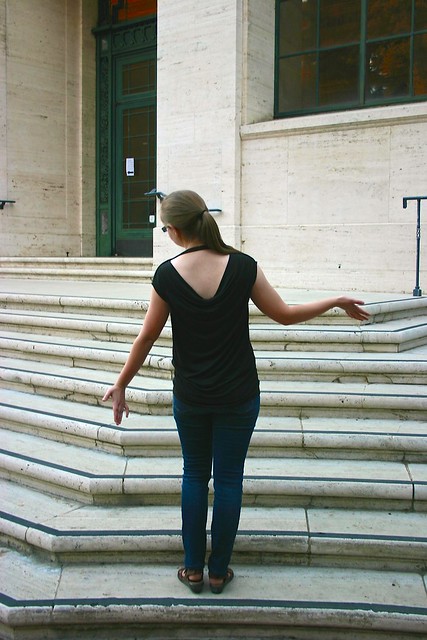
1. Sandpoint Top
This make seemed great at first, but I eventually realized I just didn’t feel good wearing it. (The difficulty I had getting pictures of me wearing it that I liked enough to use in that blog entry really should have been a clue…) Part of it is the hem–it feels too long right now, and the hem hits me at an awkward place. I need to either take the hem band off and hem it normally, or take the hem band off, shorten it, and then put the hem band back on. Blah. In addition to that, the style just isn’t practical for my everyday life. The cowl back makes it not work appropriate (for me, at least), and you can’t really cover the back by wearing a cardigan over it because the cowl gets all bunched up. So it’s weekend wear only. But most of my weekends are spent either lounging around at home or traipsing around outdoors, and this doesn’t really lend itself to either of those activities either. So mainly it sits in my closet, unworn. Once I get the hem fixed, though, it will be fun to wear this occasionally!
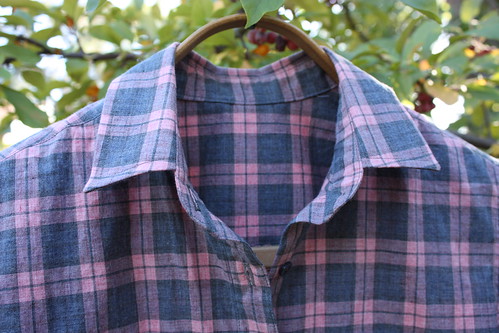
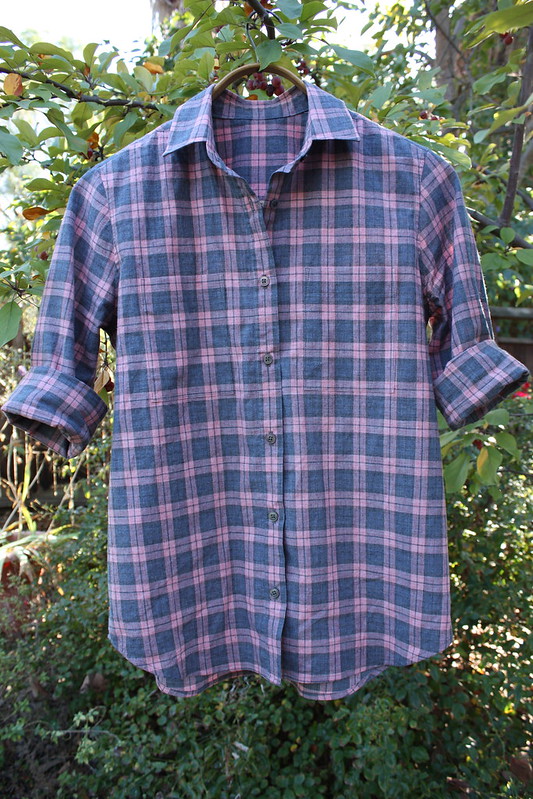
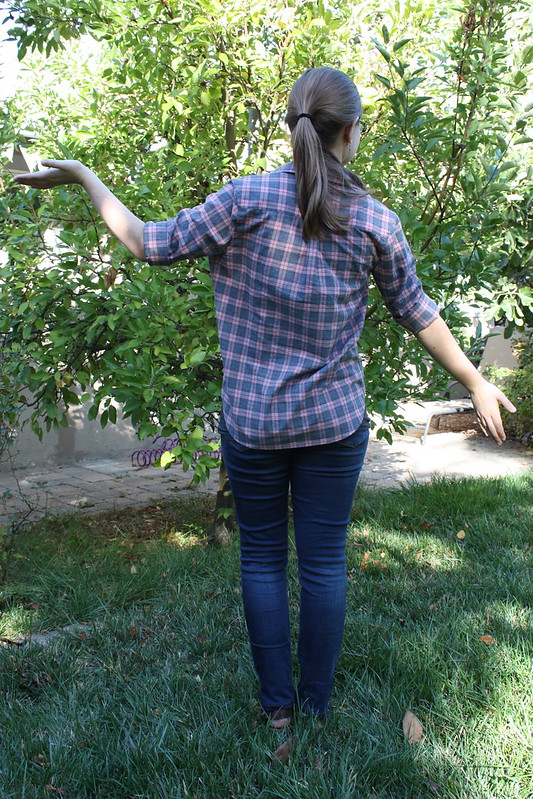
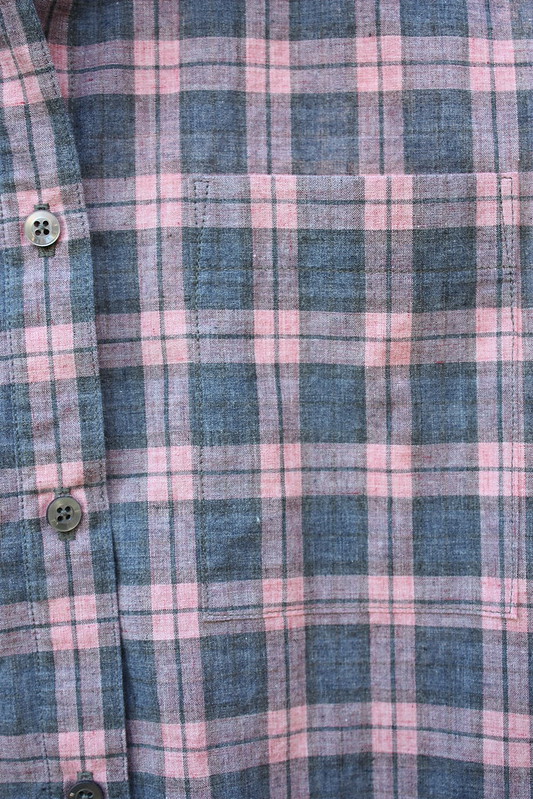
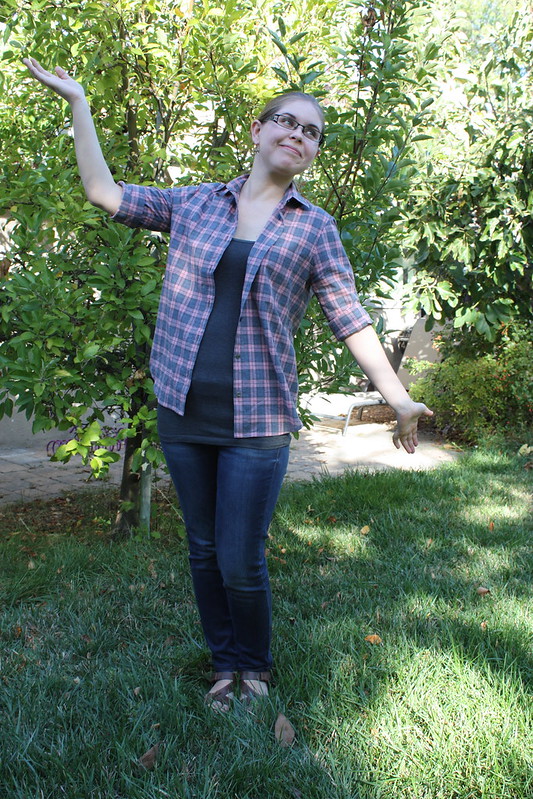
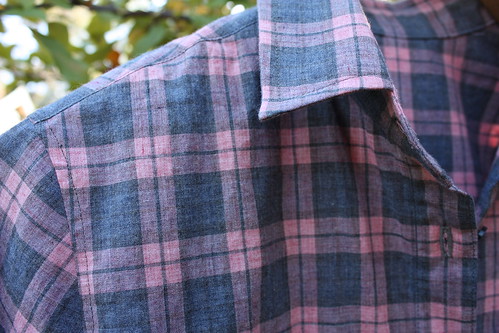
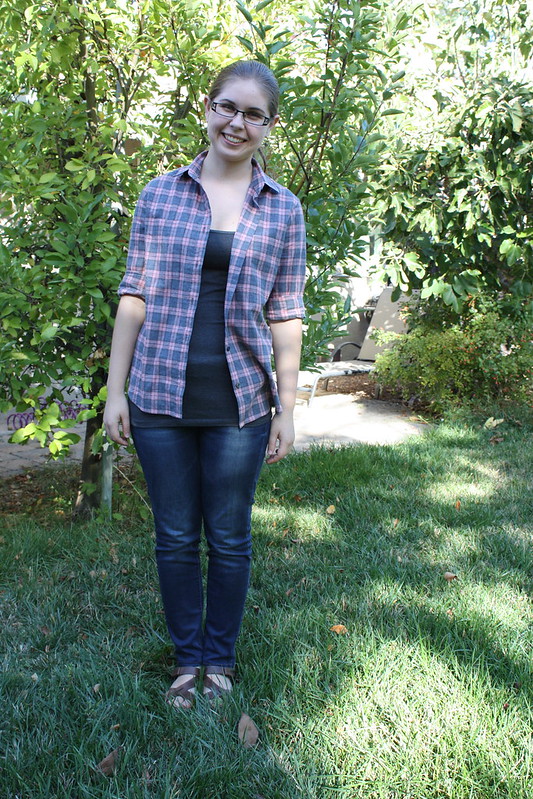
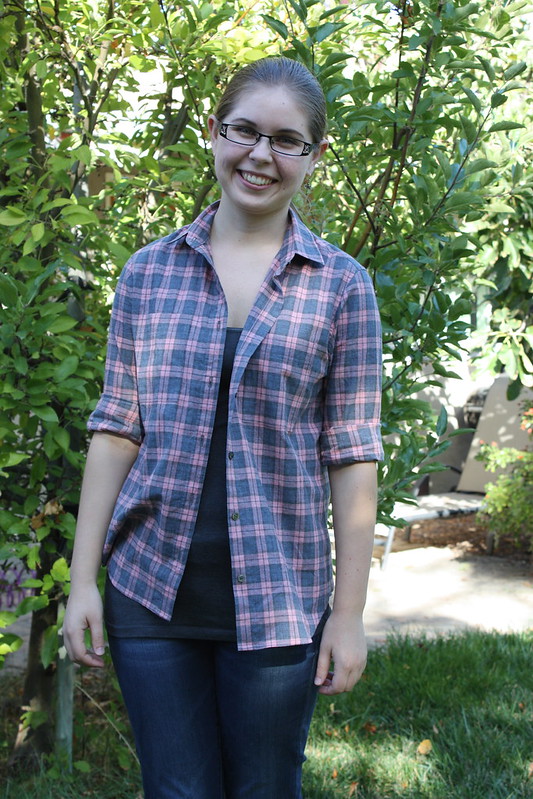
2. Shirt For The Boyfriend

This definitely isn’t a complete miss, as it gets worn frequently (hooray!). But it does have some issues. The sleeves are too wide/puffy where they meet the cuff–I really need to adjust the pattern to take out some width there. I also don’t really like the shape of the collar–it turned out too big, I think. The Boyfriend looks best in shirts with pretty narrow collars. Need to adjust the pattern for that, too. Still, considering that this is only the second incarnation of a completely self-drafted pattern, I’d say it’s pretty good! Hopefully the next version, with those changes, will be even better (whenever I get around to it…).
Another Highlight — The Wardrobe Architect Project:

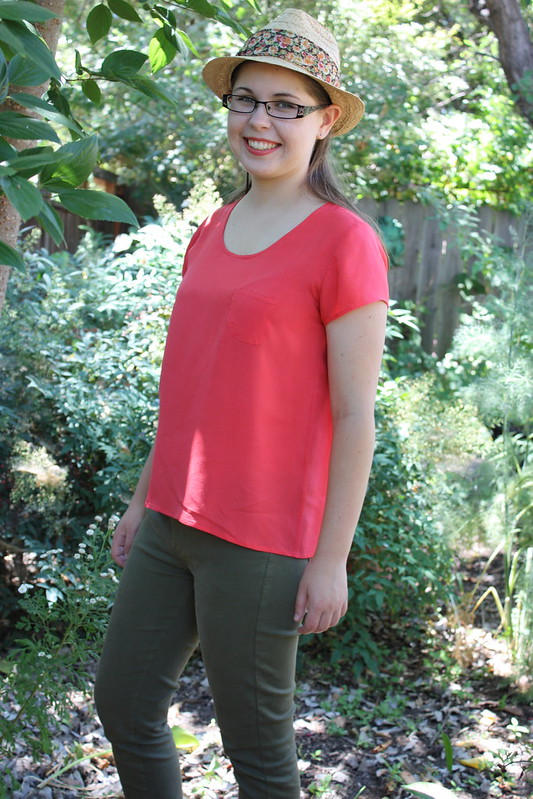
The other sewing-related highlight of my year was participating in the Wardrobe Architect Project. It definitely helped me figure out what kinds of garments to focus on making/acquiring, and my wardrobe has certainly benefitted. I think the fact that I frequently wear nearly everything I sewed this year is largely thanks to this project. Huge thanks to Sarai for designing and leading it! I learned a lot, but I think the single most helpful thing I figured out is that I look/feel the best in warm autumn colors (olive green, dark red, burnt orange, warm purple, mustard, teal, etc.). Although I don’t intend to always confine myself to this palette (obviously, judging from the things I made this year), having this in the back of my mind has been hugely helpful when I’m fabric shopping (or just shopping for ready-to-wear clothes).
That’s it from me for today. I’m off to make another Scout Tee (this will be #4). #SoManyScouts #NeverEnoughScouts