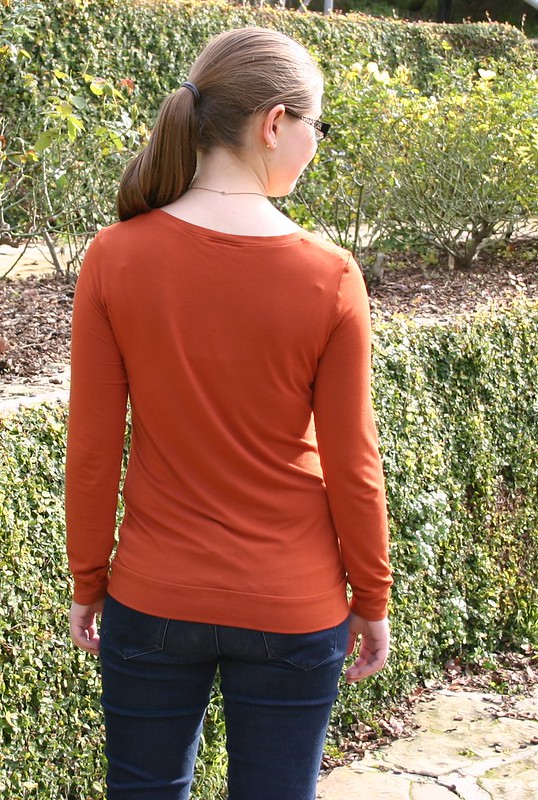
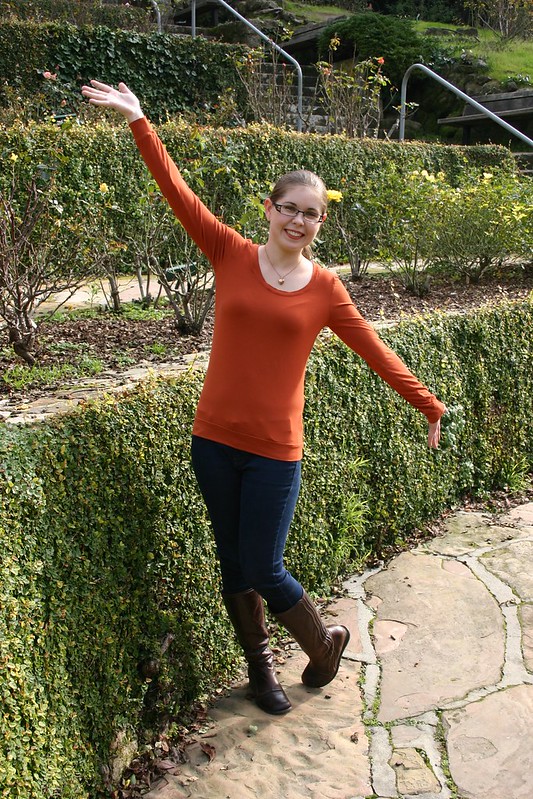
I’m a bit late to this party, since it seems everyone in the sewing blogosphere has already made the Cambie Dress from Sewaholic Patterns… But better late than never!

This dress has been in my sewing queue since June, when I found this lovely yarn-dyed blue-and-brown cotton in a fabric shop while on vacation in Oregon.

Isn’t it pretty? The two colors of thread it’s woven from almost make it look iridescent.

I knew I wanted to make a fairly simple dress with it–I wanted something versatile, and I wanted to let this fabric be the star of the show. I’d also been wanting to try out the Cambie, since everyone else who’d tried it seemed to love it. It seemed like a perfect match! I settled on view A, with the a-line skirt.

Since Sewaholic patterns are designed for pear-shaped women, and I am decidedly not pear-shaped, I knew I would have to take in the hips quite a bit. I did this by simply grading from a size 10 at the waist to a size 6 at the hips. Adjusting the pockets to account for this required a bit of thought, but wasn’t too hard.
After tracing the pattern and adjusting the hips, I made a full muslin (something I almost never do — sshhh, don’t tell!). This turned out to be a very good thing, because I definitely needed to do some tweaking. I took in the shoulder seams by a good 5/8 inch. I also curved the shoulder seams a little bit more so they would lie flat over my somewhat-rounded shoulders.
The actual sewing went quite smoothly. Tasia’s instructions are great! The only tricky part was putting in the invisible zipper, as I discovered that I don’t actually have an invisible zipper foot for my machine. I ended up inserting it very slowly and carefully with a regular zipper foot. It mostly worked, but it isn’t perfectly invisible.

Ah well. I’m over it. If anybody else is bothered by the less-than-perfect zipper, that is their problem. (I did ask for a proper invisible zipper foot for Christmas, though, so hopefully I will never have this issue again!)

Once the dress was mostly constructed, though, I tried it on and found that the top of the bodice was gaping a bit. I hadn’t noticed this on the muslin at all, likely because I didn’t put a lining in the muslin bodice and so it was difficult to tell how it was going to behave in the finished dress.
I debated the possible solutions to this issue, and finally decided to just take in the side seams of the bodice a little bit and hope for the best–by that point, doing anything else would have required more backtracking than I was willing to do. I ended up taking in the front bodice piece by about 1/2″ at the top of the side seam, tapering to nothing at the waistband. I only took in the front bodice piece, not the back, if that makes sense, so the total loss of circumference was just 1″. I think it helped, although it was not the most elegant solution.
I have to say that I’m puzzled about how others have avoided the “gaping bodice” problem with this pattern, since there’s no horizontal bust dart to bring the top of the bodice (above the bust) inwards. Maybe this is less of an issue for those with smaller busts? Thoughts?
If I make another Cambie (and I very well might–it’s a very nice pattern over all!), I think I will convert the bodice to have princess seams instead of darts, like this version from Crafting a Rainbow (found via Pinterest). That will make it much easier to shape the bust to eliminate gaping.
Here’s some inside shots. One thing I really like about this pattern is that the inside turns out just as clean and neat as the outside!

The bodice is lined with cotton batiste and the skirt is lined with rayon bemberg lining–I wanted the bodice to be nice and breathable, but I wanted to make sure the skirt wouldn’t stick to tights. I also added a self-fabric facing on the bodice, just in case the lining peaked out a little bit (I borrowed that idea from Gertie’s cambie dress).

There are several other things about this pattern that I really like too! The sleeves/straps are genius: they give the impression of a sleeveless dress, but offer enough coverage that you don’t have to worry about your bra straps showing. The skirt portion is also really flattering, and I love the pocket construction method Tasia uses. I may well be adapting that method for adding pockets to other patterns in the future.
Despite it’s imperfections, I’m still pretty pleased with how this turned out and hope to get a lot of wear out of it. :)

P.S. I impulse-bought a couple yards of this beautiful wool about a month ago at Stone Mountain and Daughter–what should I do with it? I’m thinking pencil skirt, but I am open to suggestions. Relatedly, what’s your absolute favorite pencil skirt pattern?

